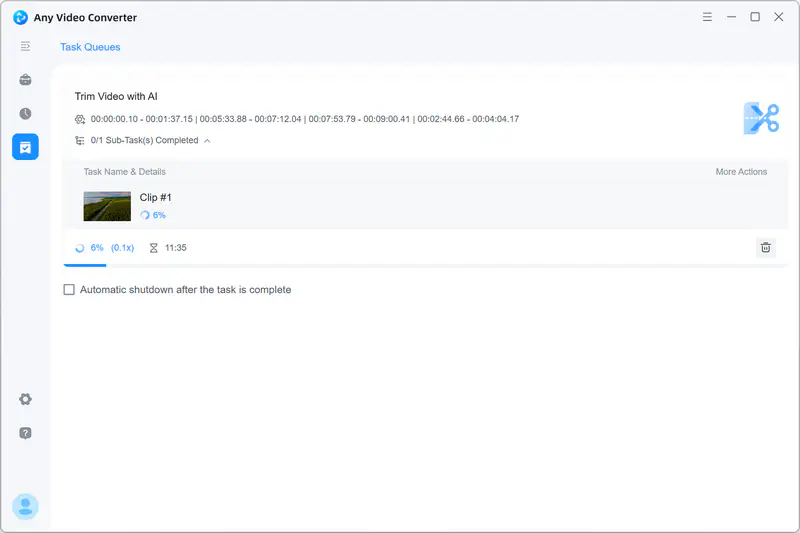
Trim, Split, and Merge Clips in One Place
Use Any Video Converter's “Trim Video” tool to quickly remove unwanted sections or split a video into multiple clips with precision. Choose between manual and smart split, then easily reorder and merge your clips into a single video.


Highlights of Any Video Converter's Trim Video Tool
1. Smart Split. Automatically split a video into multiple clips by detecting scene changes and transitions.
2. Manual Trim. Precisely trim a video by setting custom start and end points.
3. Reorder Clips. Rearrange trimmed clips in any order you prefer.
4. Merge Clips. Combine trimmed or split clips into a single video.
Video Tutorial: Trim and Merge Video Clips into One Video
How to Split a Long Video into Multiple Clips with AI
Smart Split is designed for long videos with frequent scene changes and transitions, such as vlogs, travel videos, event recordings, tutorials, movies, and compilations. By automatically detecting transitions and scene changes, it splits the video into separate clips, making it easier to review, remove, reorder, or merge different scenes.
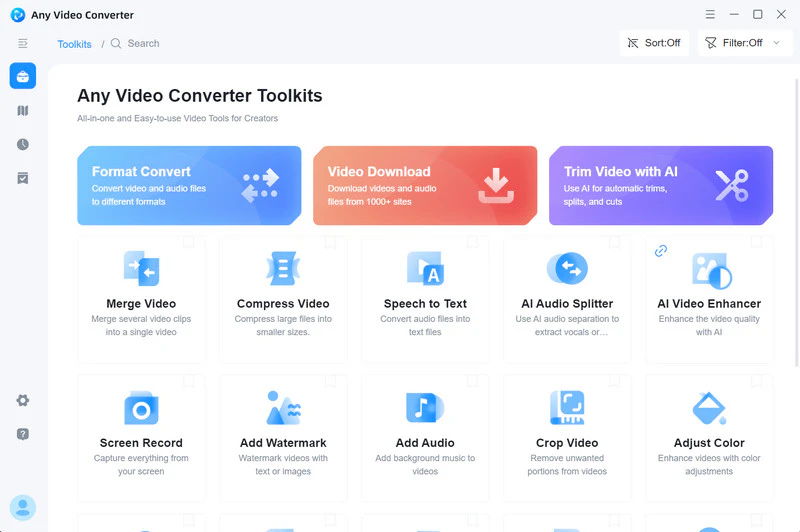
Step 1 Open the "Trim Video with AI" Tool
Launch Any Video Converter and select Trim Video with AI from the Toolkit.
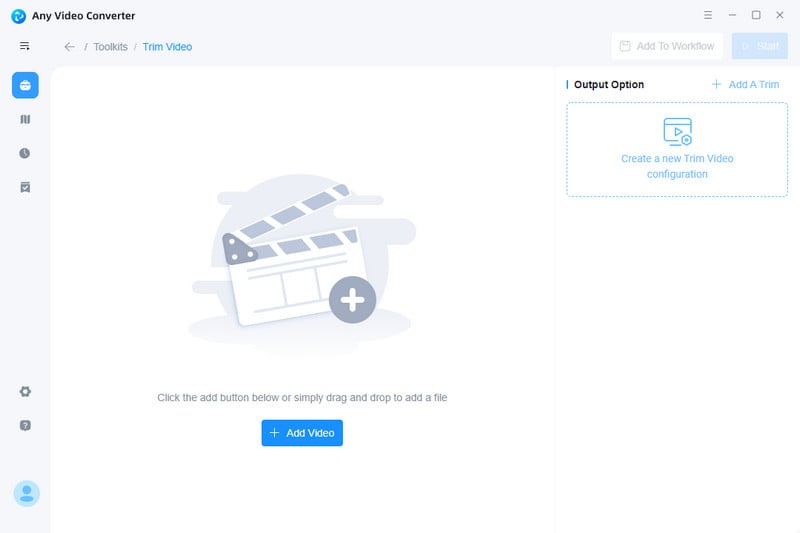
Step 2 Add a Video
Click Add Media Files to import the video you want to trim or split.
Step 3 Start AI Scene Detection
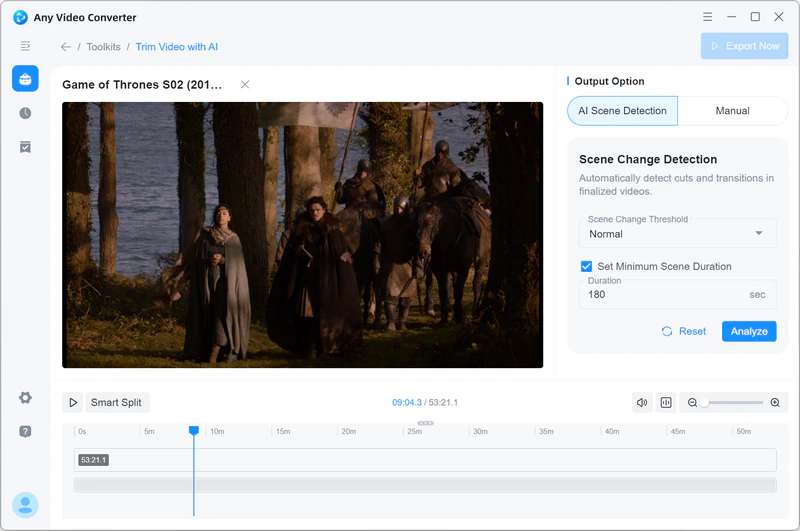
Select AI Scene Detection from the Output Options.
Next, adjust the Scene Change Threshold by choosing one of the following sensitivity levels: Extremely sensitive, Sensitive, Normal, Insensitive, or Extremely insensitive. A higher sensitivity level detects more subtle scene changes and may create more clips.
You can also set the Minimum Scene Duration for each clip, from 1 to 1,000 seconds.
Once you have configured the settings, click Analyze to automatically detect scene changes and split the video into clips.
Step 4 Review and Save the Split Clips
Once the analysis is complete, review the detected clips in the timeline at the bottom of the window or in the panel on the right. You can manually fine-tune the start and end points of each clip or delete any unwanted clips.
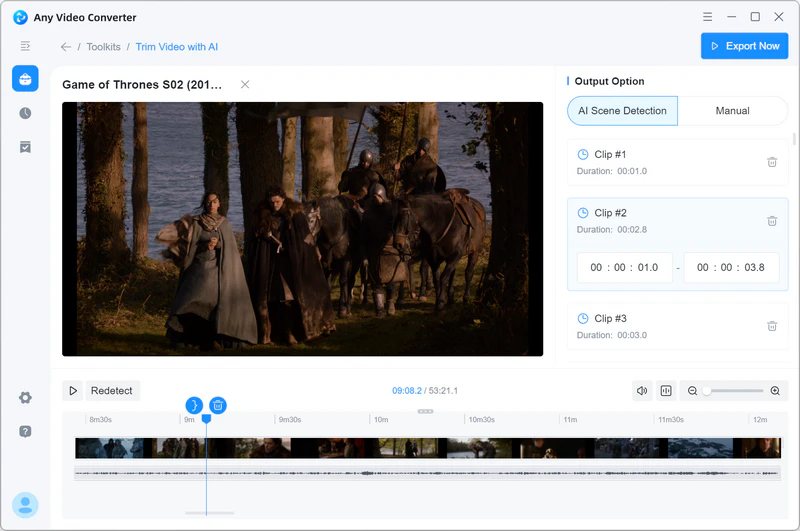
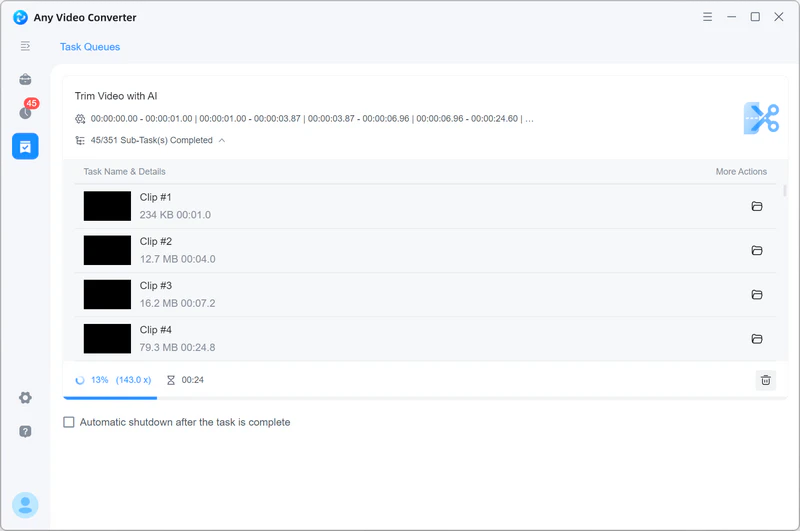
When you are satisfied with the results, click Export Now to save all split clips.
How to Manually Trim, Reorder, and Merge Video Clips
Manual Trim mode is ideal when you need precise control over where each clip starts and ends. Use it to remove unwanted intros, outros, mistakes, ads, or silent sections, extract specific moments, or split a video at exact timestamps. You can also reorder the trimmed clips and merge them into a single video.
Step 1 Add a Video
Launch Any Video Converter and select Trim Video with AI from the Toolkit. Import the video you want to trim, then select Manual mode.
Step 2 Manually Trim a Video
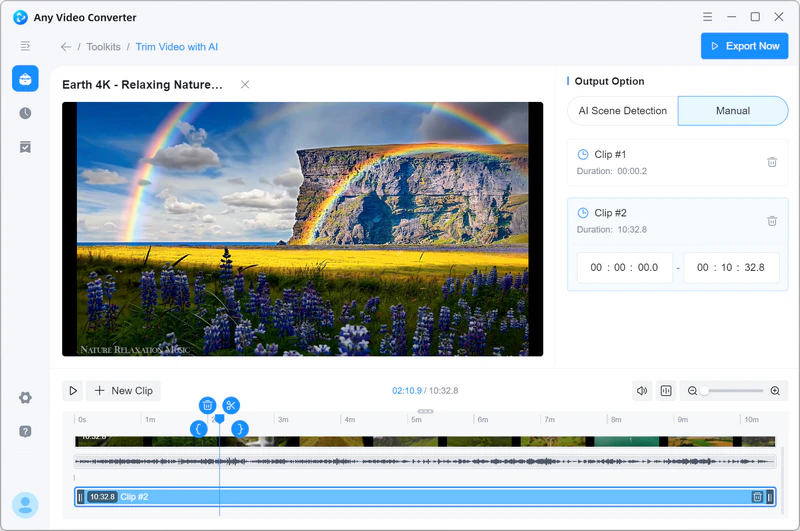
Create Video Clips. Move the playhead to the desired split point on the timeline, then click  to divide the video into separate clips, such as Clip #1 and Clip #2. Repeat this process to create additional clips. Alternatively, click + New Clip to add as many clips as needed, then set the start and end points for each one.
Set the Start and End Points. Move the playhead to the desired position, then click  to set the clip's start point or
  to set its end point.
Delete Unwanted Clips. Click  to remove the selected clip.
Other Timeline Controls. Drag the Zoom slider to zoom in or out on the timeline. Click  to adjust the video's playback volume within the program, or click
  to show or hide the audio waveform.

Keyboard Shortcuts. Hold down Ctrl and scroll the mouse wheel to zoom in or out on the timeline. After selecting a clip, press the Left Arrow (←) or Right Arrow (→) key to nudge it backward or forward in 0.1-second increments.
Enable Fast Crop. Turn on this option for faster trimming. The actual cut points may differ slightly from the positions you selected.
Step 3 Merge and Reorder the Clips
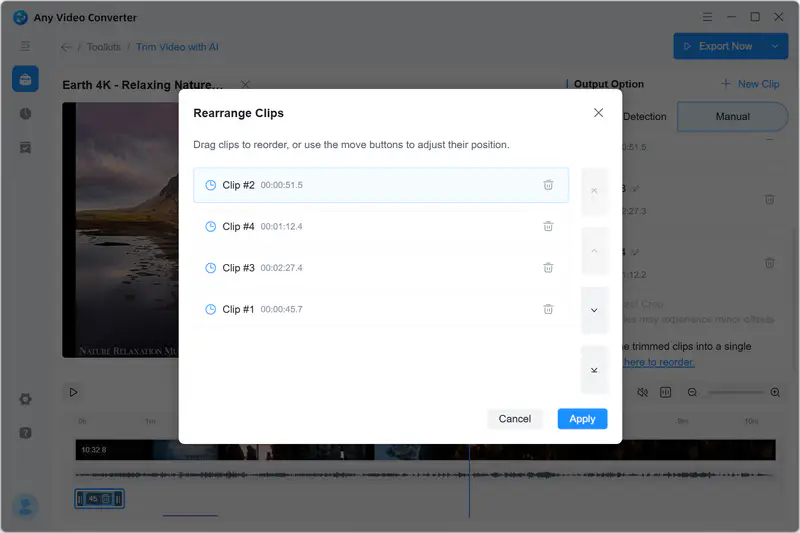
To combine all trimmed clips into one video, enable Merge Clips. To change their playback order before merging, click Reorder and arrange the clips as needed.
Step 4 Export the Clips or Merged Video
Click Export Now to save the individual clips or the merged video.